Wat heb je nodig?
dampscherm – breekmes – vouwmeter
Instructievideo dampscherm
Handleiding
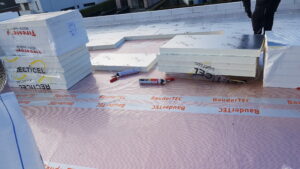
Begin op het laagste punt van het dak. Breng het zelfklevende dampscherm in parallelle stroken aan. Zorg ervoor dat het dampscherm aan alle zijden minimaal een tweetal centimeter boven het uiteindelijke niveau van de isolatie uitsteekt. Als je bijvoorbeeld een isolatiedikte van 80 mm hebt gekozen, breng je het dampscherm minstens 10 cm hoog tegen de opgaande kanten aan.
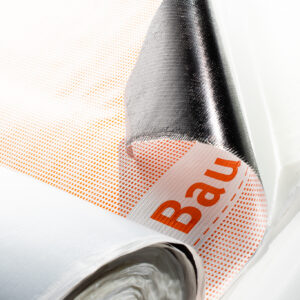
Positioneer de eerste strook dampscherm en maak de dunne beschermfolie onderaan aan het uiteinde los. Kleef het ontblote deel van het dampscherm aan de ondergrond en tegen de opkant. Ga langzaam verder terwijl je stelselmatig de strook beschermfolie verder verwijdert. Het werkt gemakkelijk als iemand op het gekleefde uiteinde gaat staan terwijl de andere de folie wegtrekt.
Wrijf de strook dampscherm kort aan met je handen.
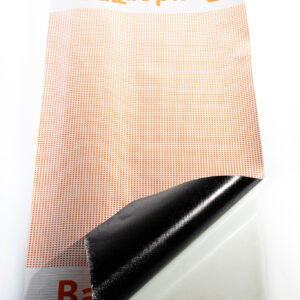
Snijd een volgende strook dampscherm af en Iaat die een tiental cm met de eerste strook overlappen. De rand van de tweede strook kleef je dus tegen de oranje stippellijn op het de eerste strook. Werk zo verder tot de volledige oppervlakte van het dak bedekt is.
In de laatste fase heb je waarschijnlijk onvoldoende breedte om een volledige strook dampscherm te kleven. Snijd dan horizontale stroken van de rol dampscherm, die je telkens aan de onderkant tien centimeter laat overlappen met de laatste volledige strook dampscherm, en aan de zijkanten met elkaar.
TIP! Bij temperaturen onder de 10°C is het nuttig het dampscherm licht op te warmen met een warmeluchtblazer. Daardoor zal het beter kleven.